How To Connect The Brother Hl-2170W To Wifi on macOSX
I recently wanted to connect my Brother HL-2170W laser printer to my Wifi network. I had always used the wired Ethernet connection prior. The Network User’s Guide mentioned installing a Brother application to configure the printer to use Wifi:
To connect your printer to your wireless network, you need to follow the steps in the Quick Setup Guide or the Network User’s Guide. We recommend that you use the Brother installer application on the CD-ROM which we have provided with the printer. By using this application, you can easily connect your printer to your wireless network and install the network software and printer driver which you need to complete the configuration of your printer for a wireless network. You will be guided by the on-screen instructions until you are able to use your Brother wireless network printer.
Have a read of the HL-2170W manual for more specific information.
Given how old this printer was, I didn’t fancy my chances of getting their software to work on the current version of macOSX (12.6.3). Also MacBooks have not shipped with a CD-ROM for many years, so using the CD-ROM was not a viable option. I also didn’t see the utility mentioned available for download on their download site, so that was a no go. :|
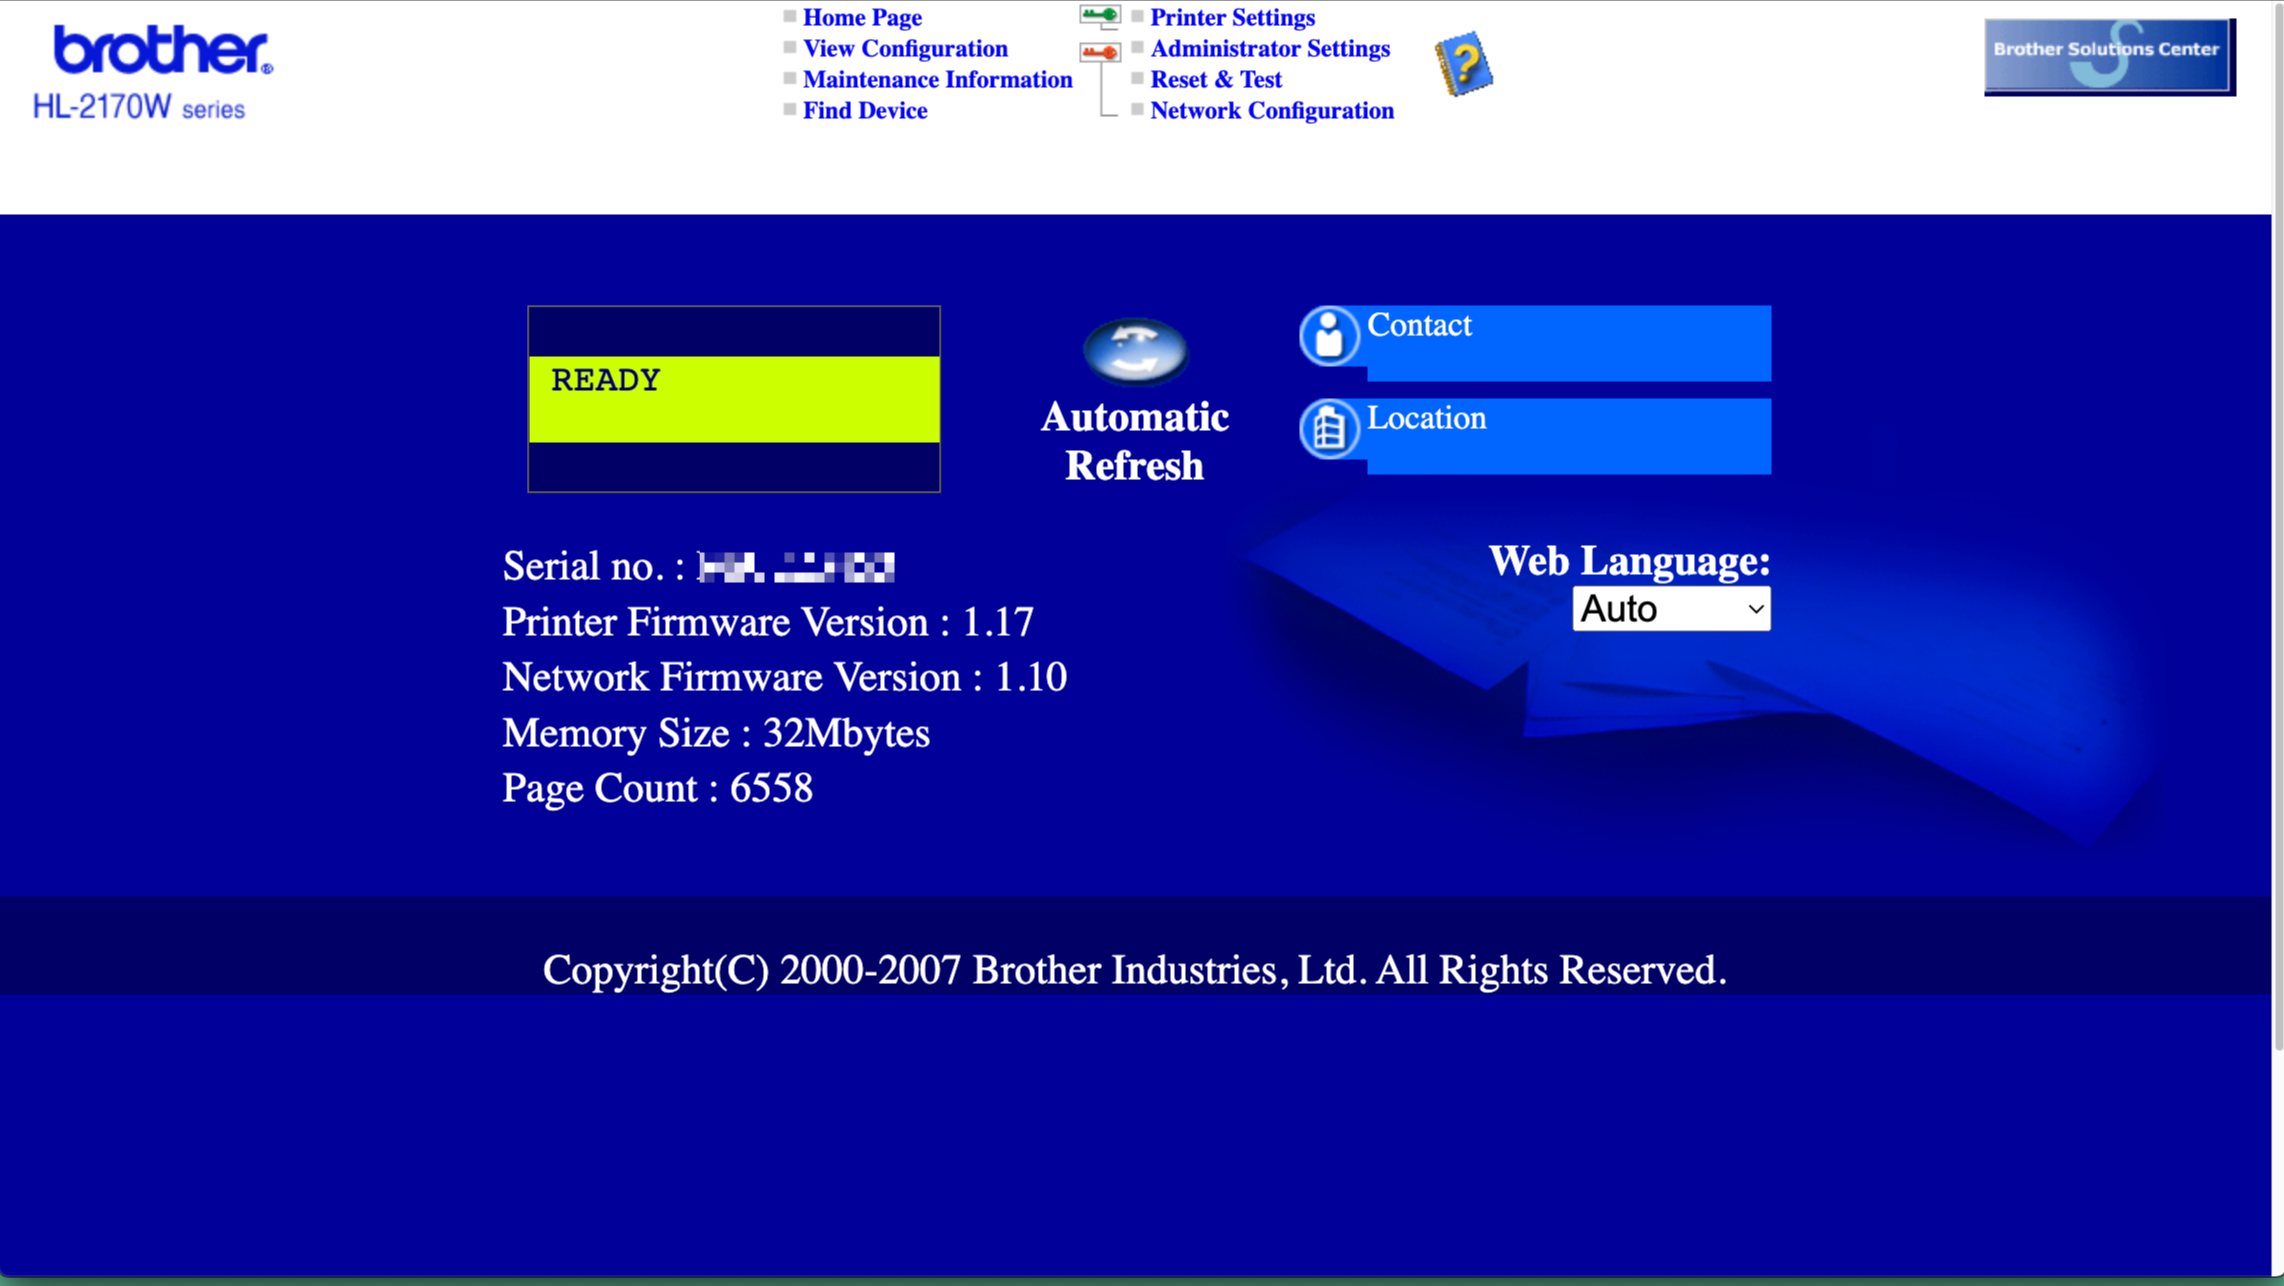
Most network printers have some sort of web admin application where you can update settings. I hit the IP address of the
printer in a browser: http://printer_ip_address and was greeted by an admin panel:
If you don’t know what the IP address of your printer is you have two options:
- Find the DHCP address of your printer from your Router. This is assuming that the printer is using DHCP from your router.
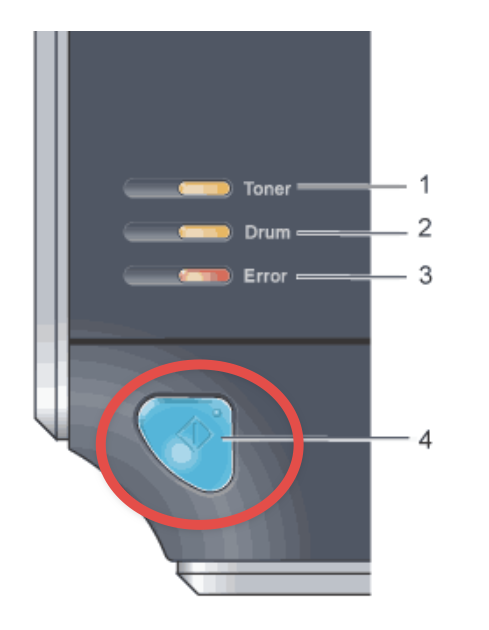
- Press the “Go” button (the big white button on the bottom left side of your printer) three times and the printer should printer out a bunch of statistics about the printer along with its IP address.
Update the admin and user Passwords
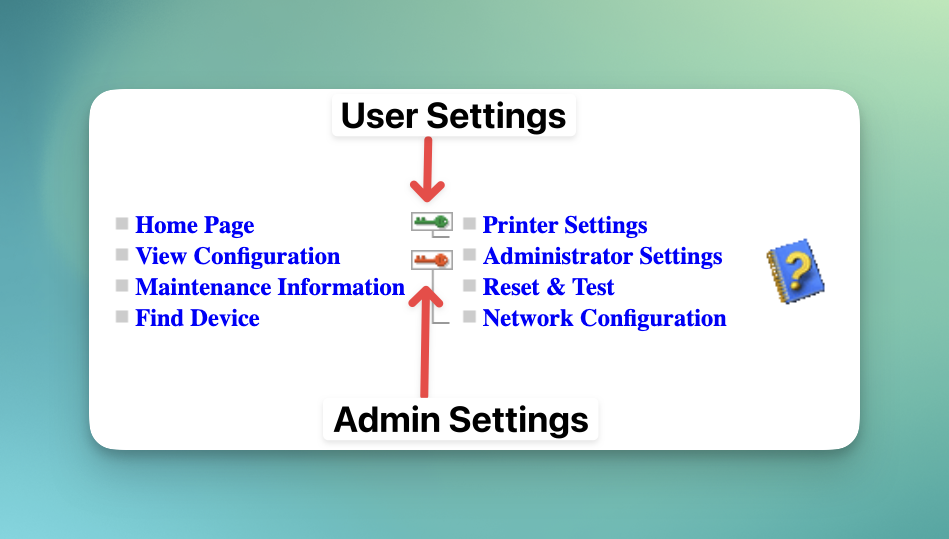
The default admin credentials to the admin settings (red key) are:
- login: admin
- password: access
The default user credentials to the user settings (green key) are:
- login: user
- password: access
It’s a good idea to change the above credentials to something stronger.
One issue I ran across when entering long or complex passwords (over 20 alphanumeric and symbolic characters), was that the system would accept it but you would not be able to log into the admin with those updated credentials. Boo! If this happens you will need to reset your printer to factory defaults. See Reset Printer to Factory Defaults for details.
What seems to work best is a short alphanumeric password. I tried up to seven characters and left it at that. It may support higher lengths but given that I had already had to reset my printer multiple times, I chose to stop there.
While this is not great, it’s better than the default combinations.
Update Firmware
Next it would be good to update the printer to its latest firmware to get any bug fixes and security patches etc.
You can download the latest (1.17 as of writing this) from Brother’s 2170W Downloads page. Please choose the OS version you want to download the firmware for.
For macOSX, the latest macOSX version is 10.15.x. It seemed to work on macOSX 12.6.3 without a hitch.
Activate Wifi
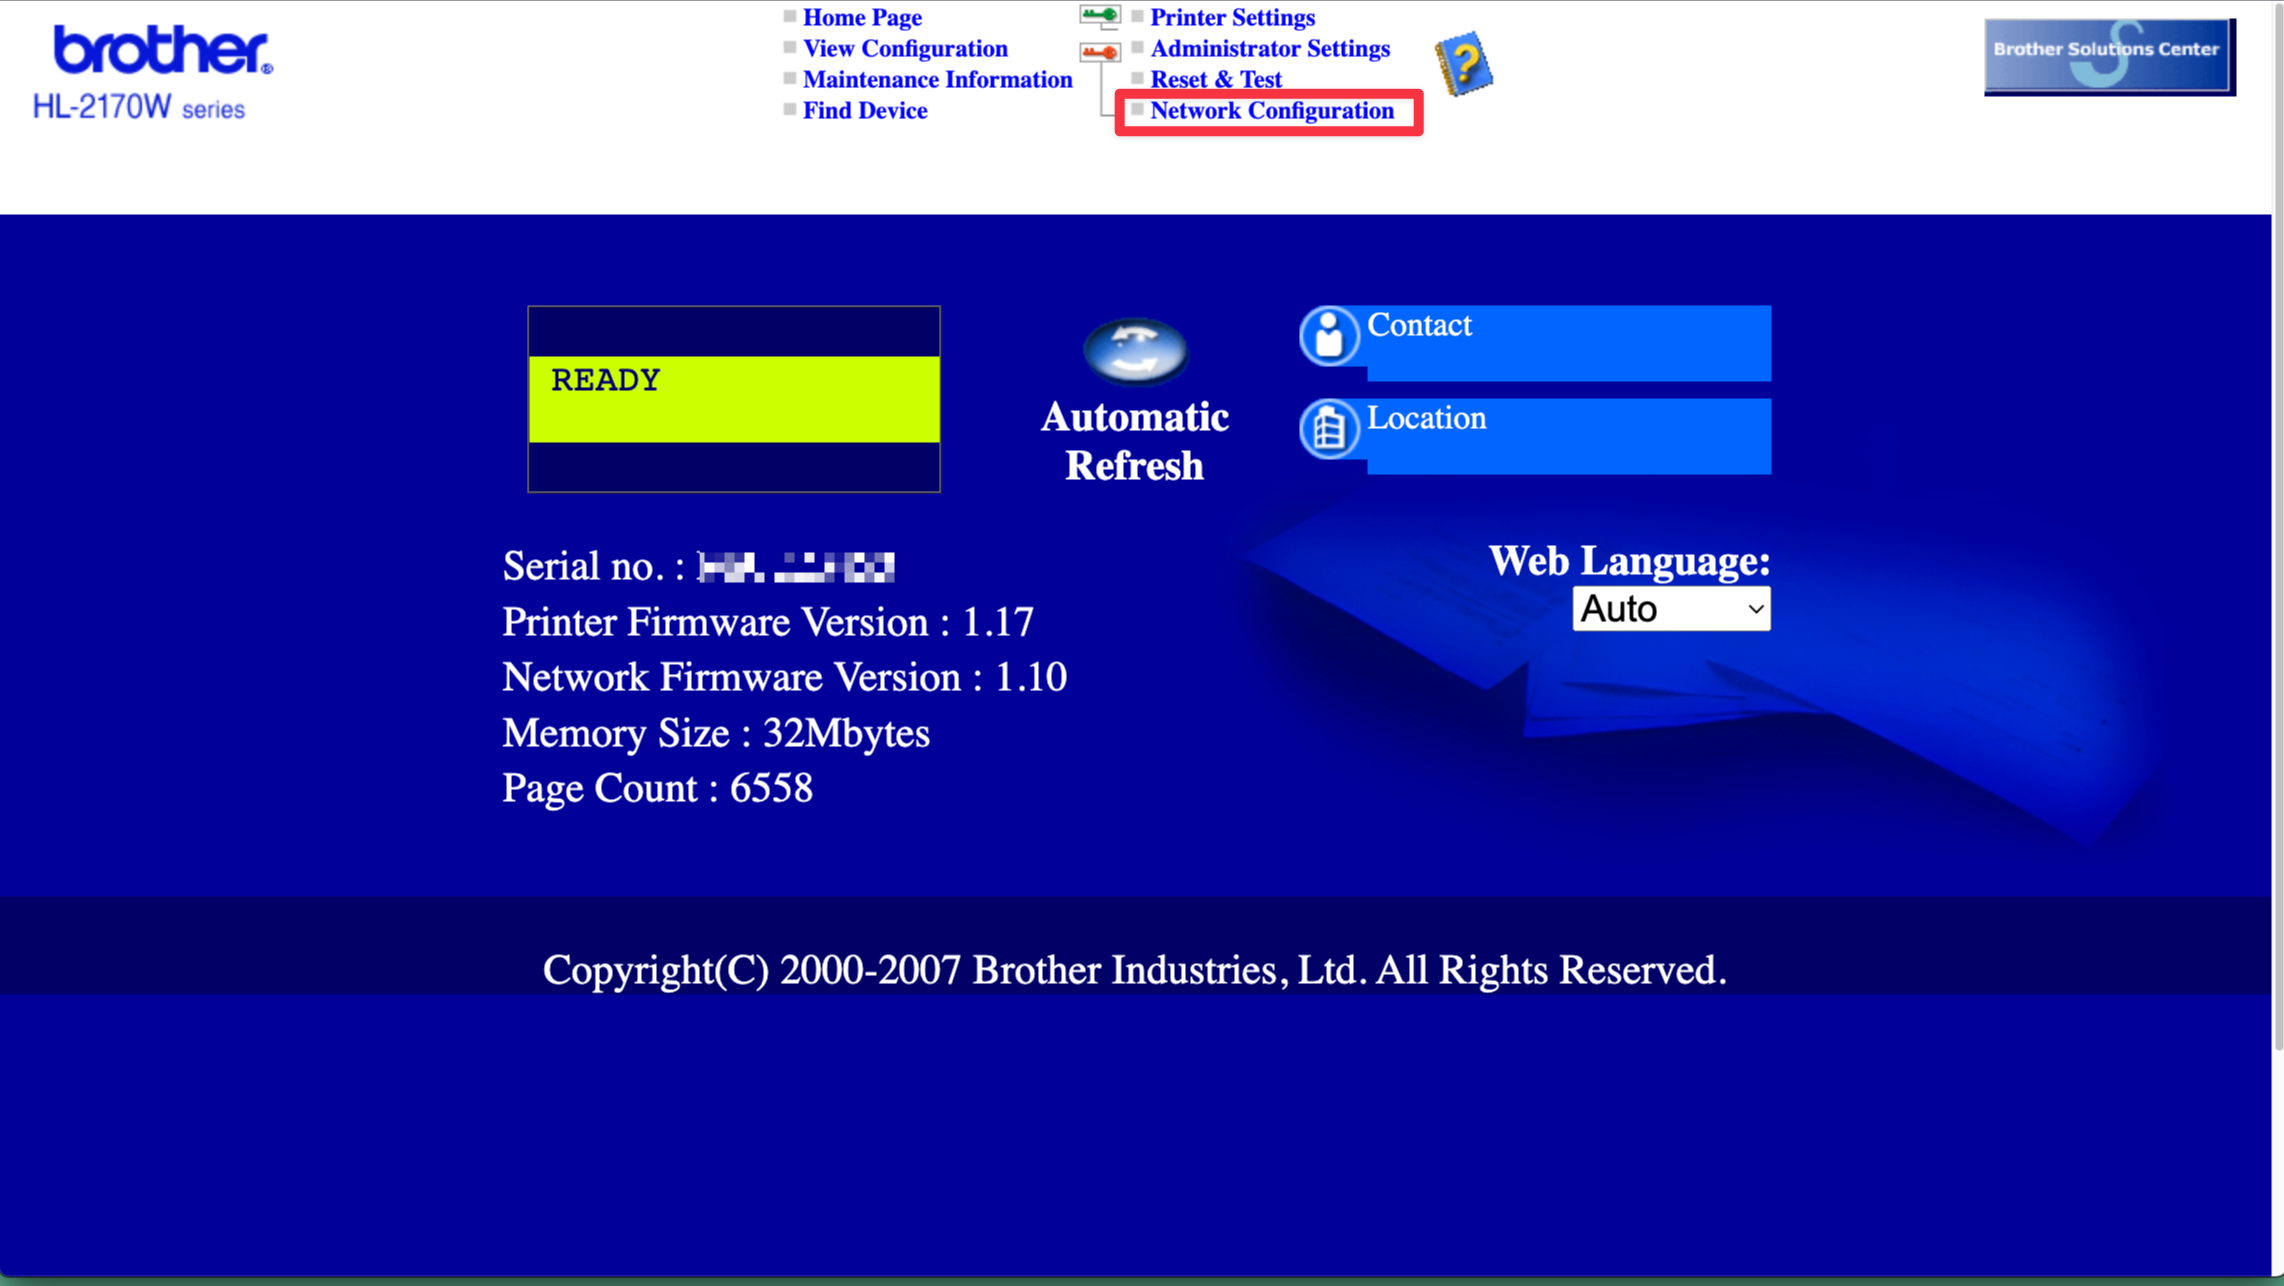
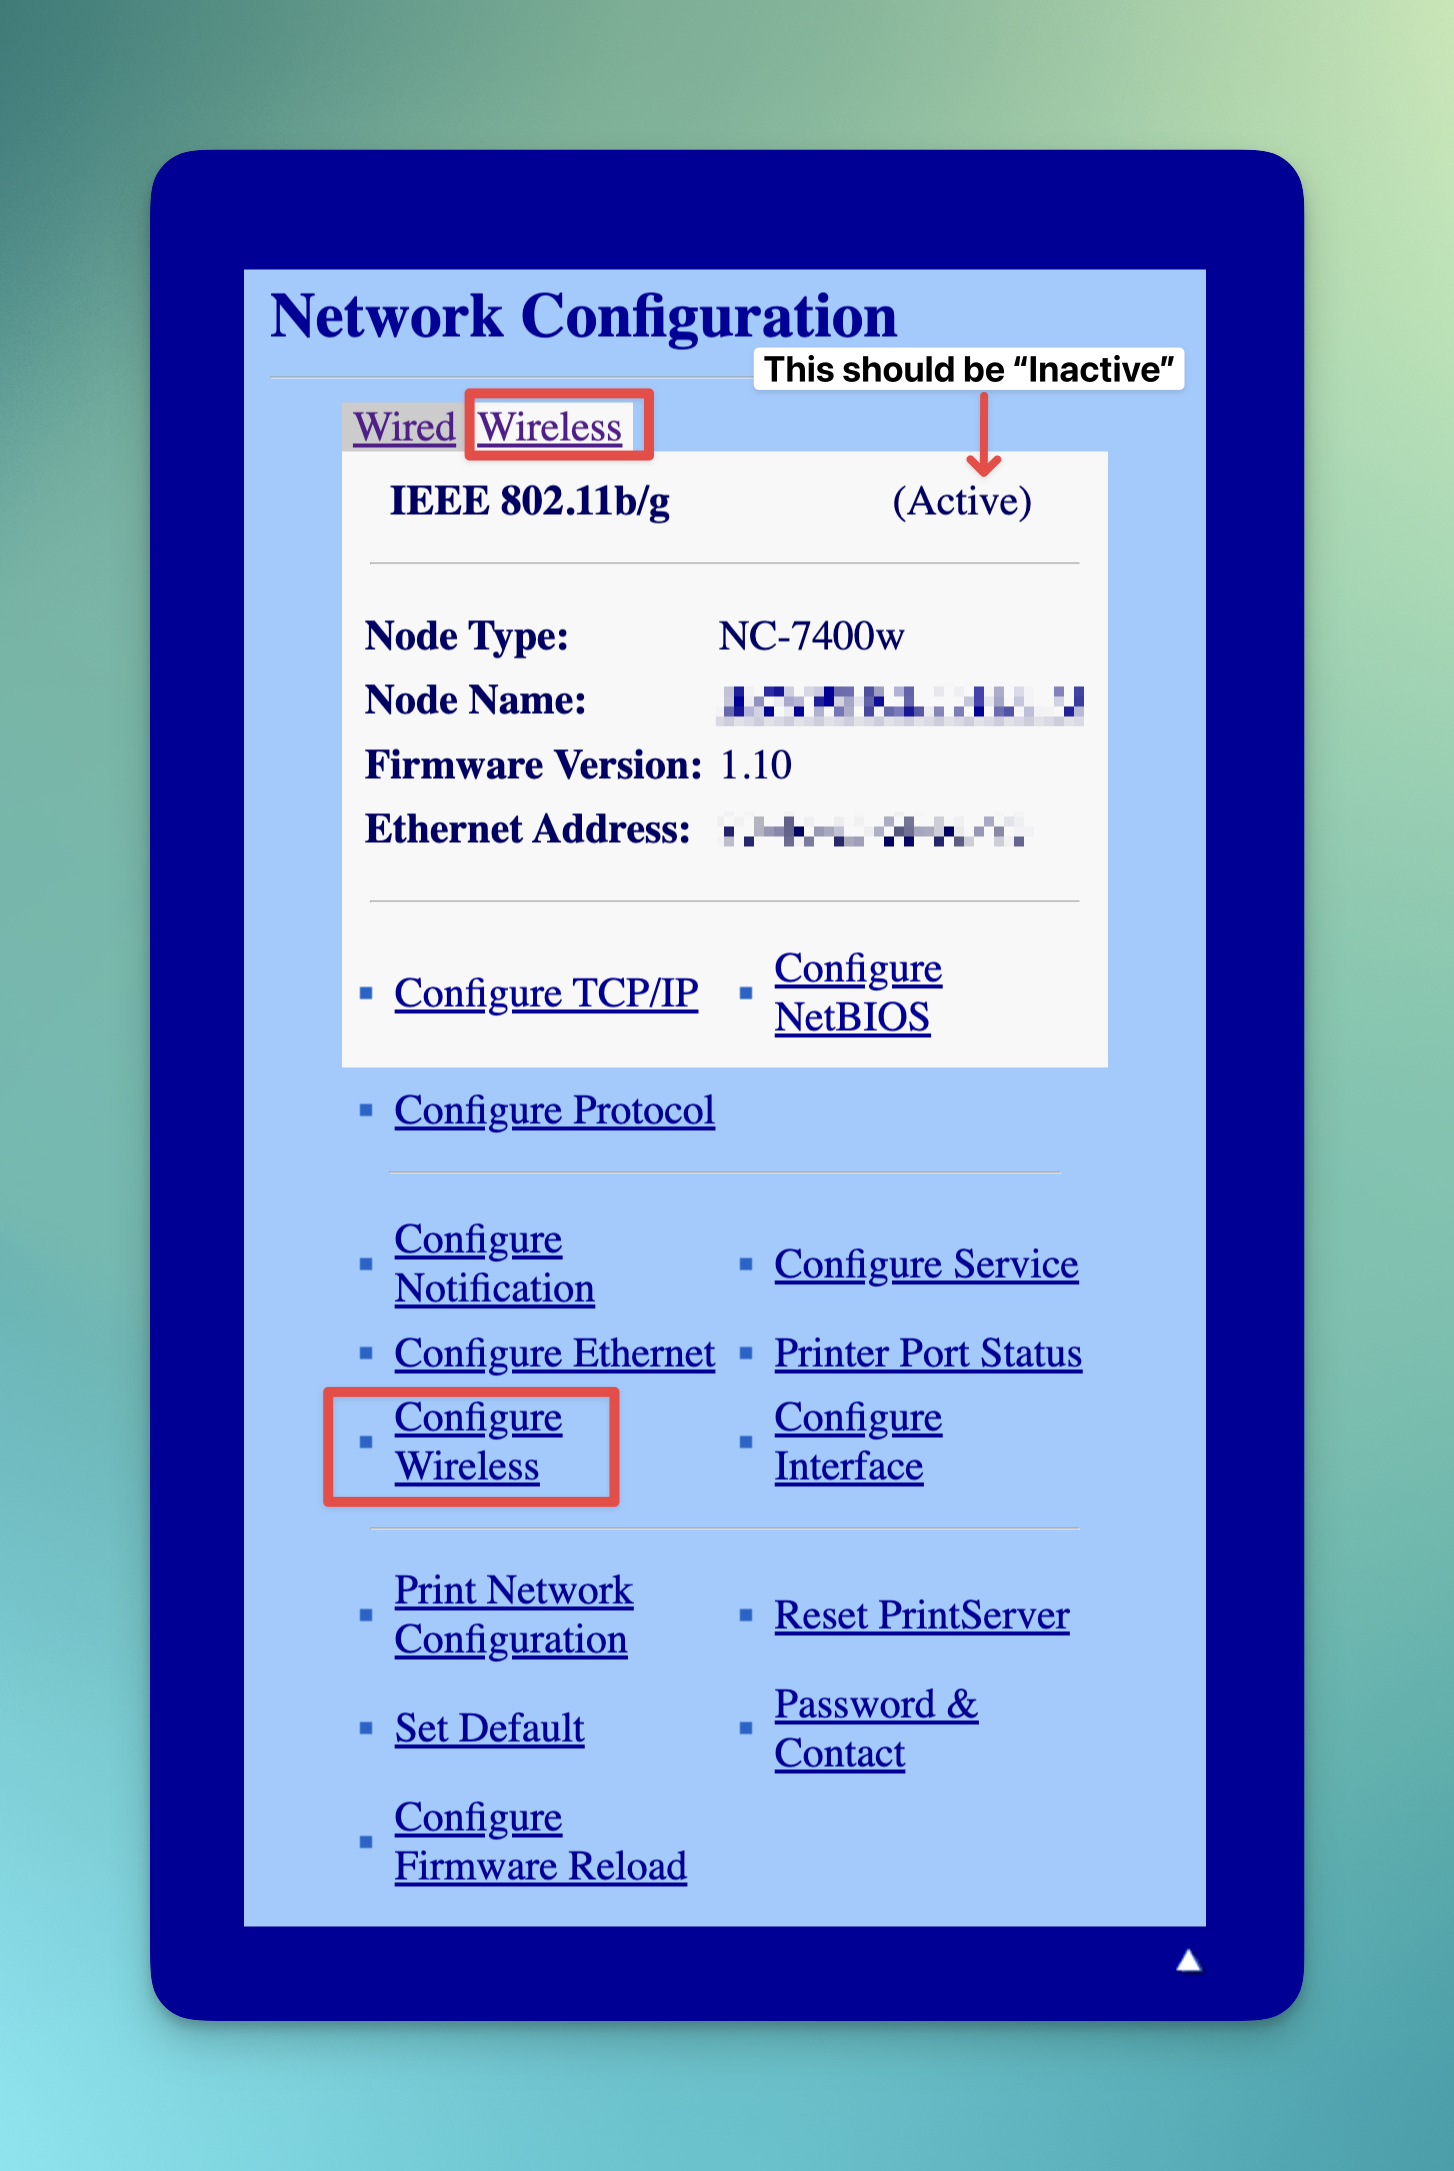
- Log into the admin panel as the admin user
- Choose the
Network Configurationlink
- Choose the
Wirelessinterface - Verify that the Wireless interface is
Inactive - Choose the
Configure Wirelesslink
- Choose the following settings:
| Setting | Value | Comment |
|---|---|---|
| Communication Mode | Infrastructure Mode |
- |
| Wireless Network Name (SSID) | - | Browse to choose your SSID and channel. This can take a while |
| Authentication Method | WPA/WPA2-PSK | Or your authentication method |
| Encryption Mode | AES | or your encryption mode |
| Passphrase | Your Wifi Password | - |
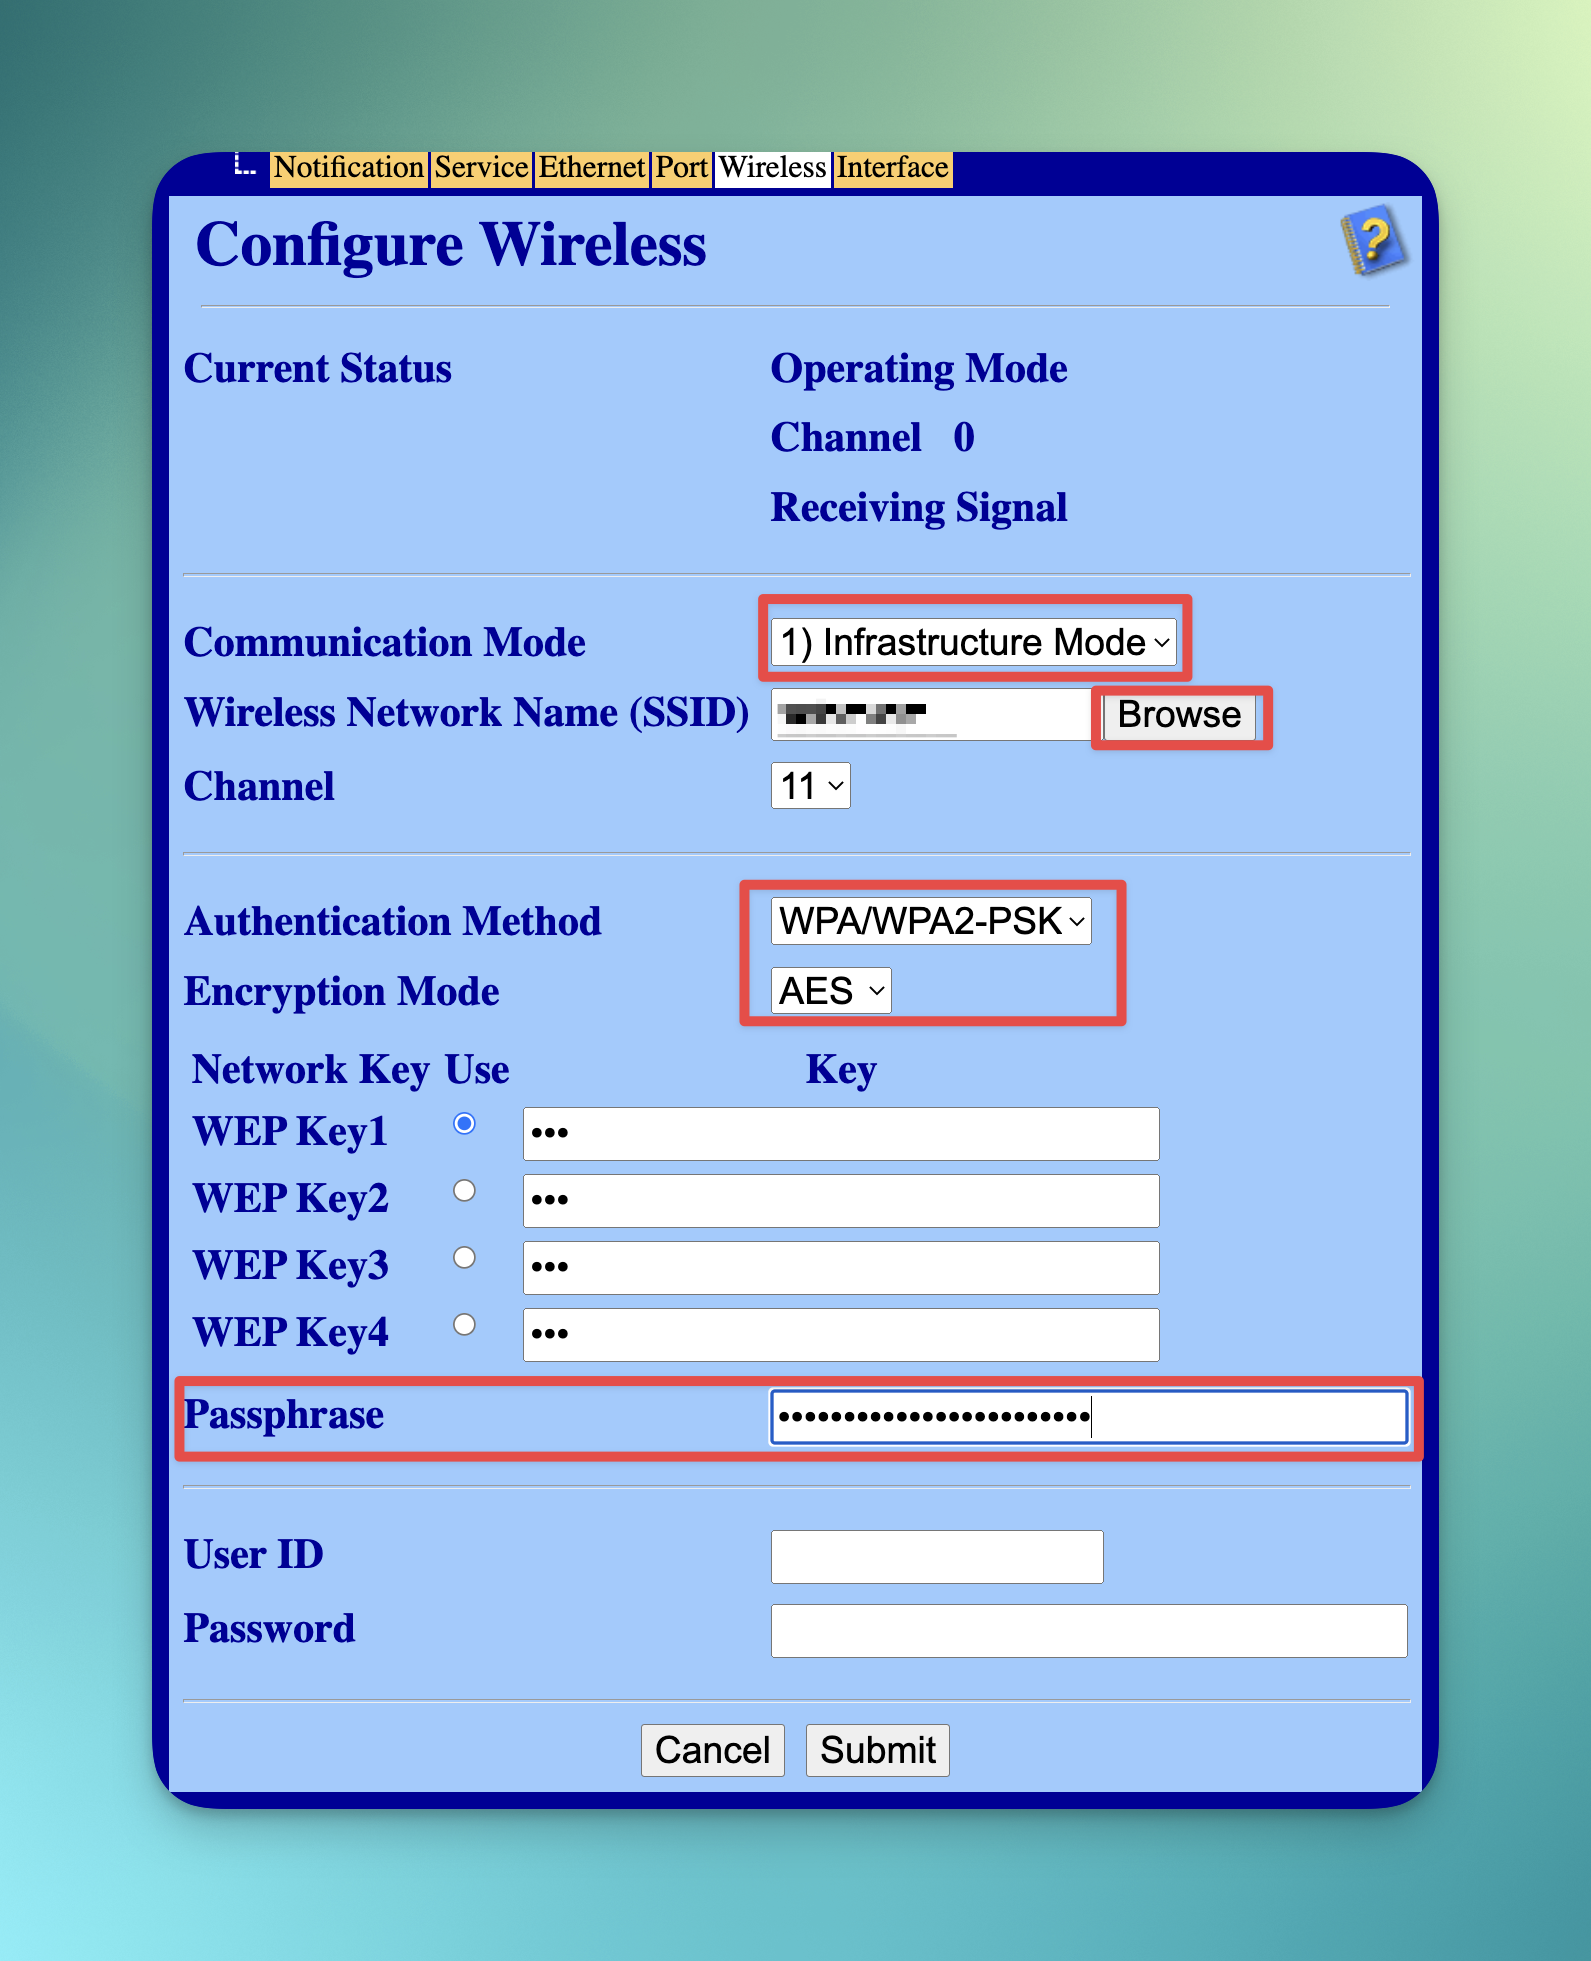
- Click
Submit - Wait for the following message to display:
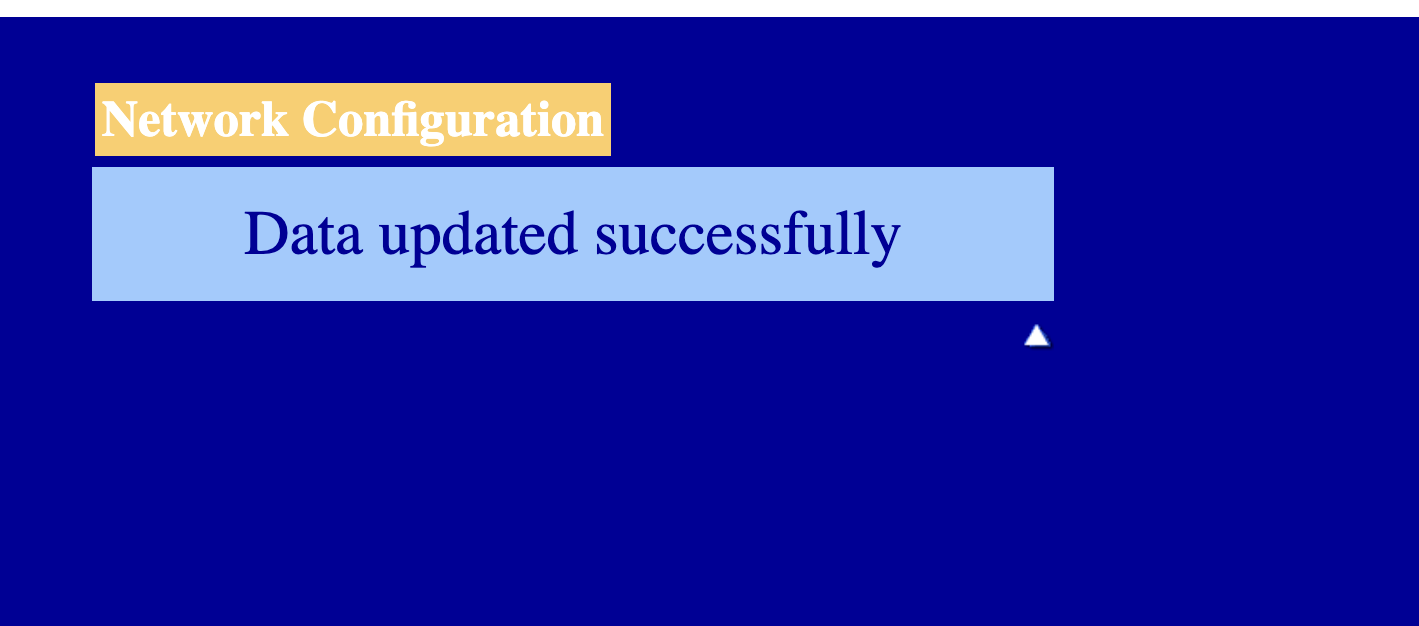
- Wait for the second confirmation message to display:
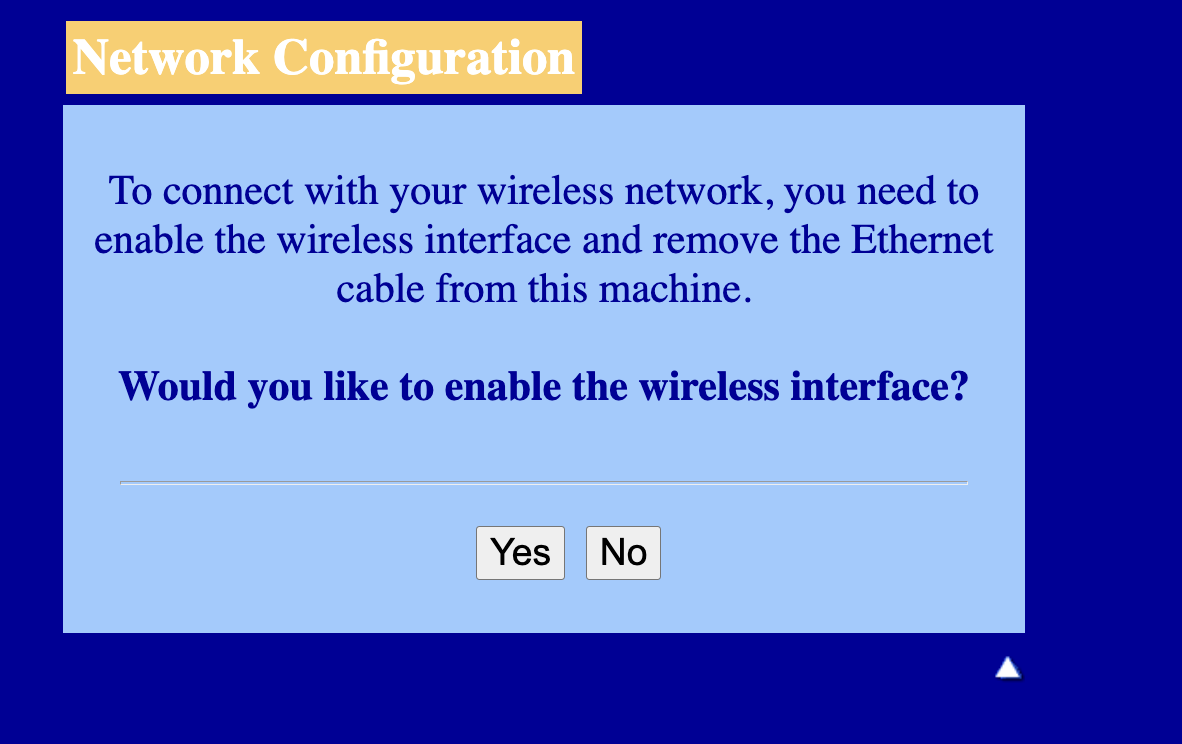
- Click
Yes. This disables your wired Ethernet connection to the printer - Wait for the third confirmation message:
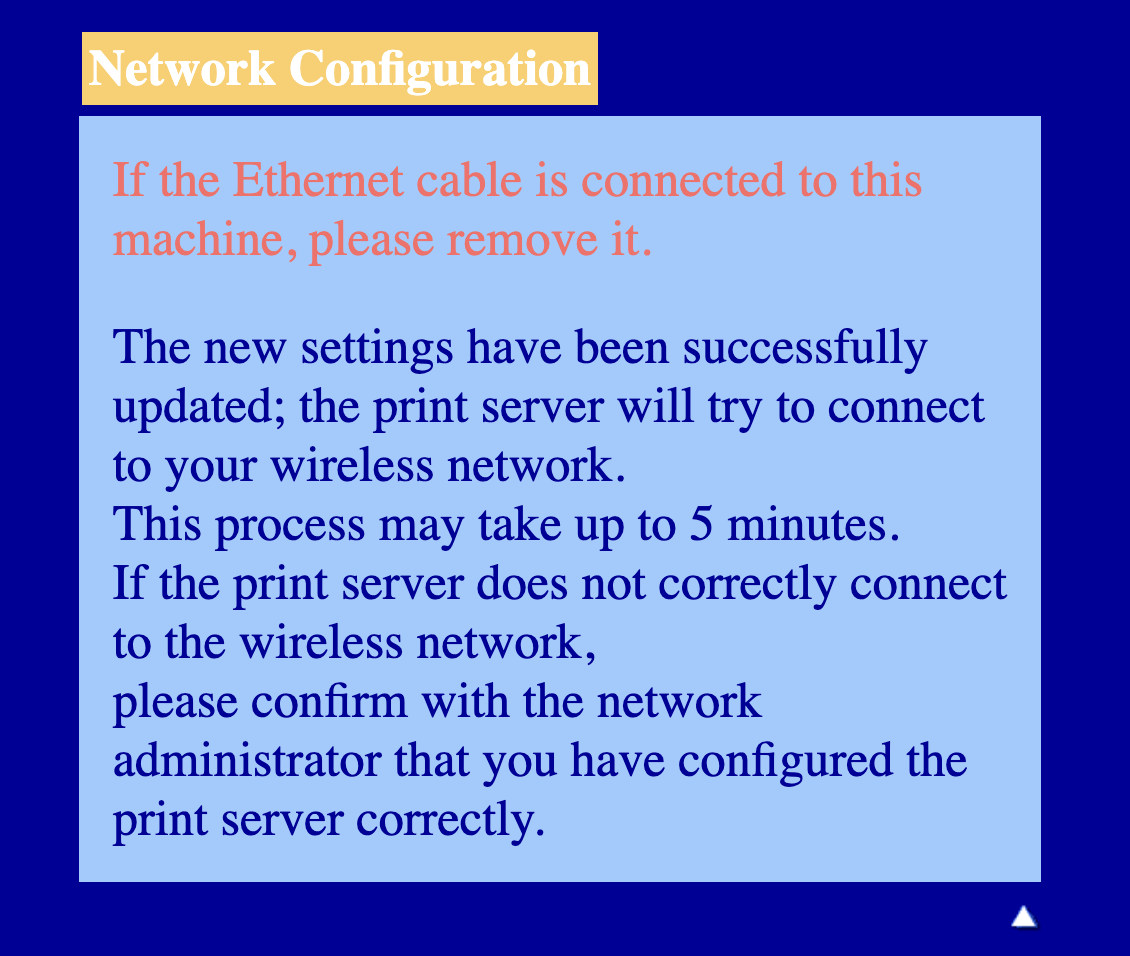
- Unplug the Ethernet cable and restart the printer
- Give the printer a few minutes to connect to your wireless network
- Find the IP address of the printer from your Router
- Try and open the admin panel again using your new IP address:
http://<wifi_ip_address>
If you can access the admin panel of the printer you’re all set! Well done! If you can’t see the troubleshooting section.
Once you’re satisfied your printer is working correctly, assign a static IP address to MAC address of your printer’s wireless network card through your router. This ensures that the printer will always get the same IP address.
Troubleshooting
If the printer does not turn up as a wireless client on your router’s DHCP lease table, something’s gone wrong! Oh noes! Since you’ve switched to the Wireless interface, your wired network interface does not work. Your only option is to Reset Printer to Factory Defaults and try the steps again, ensuring all your Wifi connection details are correct.
I had to do this number of times so I feel your pain.
Reset Printer to Factory Defaults
If you need to reset your printer to factory defaults by doing the following:
- Turn off the printer
- Make sure that the front cover is closed and the power cord is plugged in
- Hold down the Go button as you turn on the power switch. Keep the Go button pressed down until the Toner, Drum and Error LEDs light up. Release the Go button. Make sure that all the LEDs turn off
- Press the Go button seven times. Make sure that all the LEDs light up to indicate the print server has been reset to its default settings